The Makeup HubCultural/Regional › Asian Makeup Tutorial — Monolid-Friendly Eye Technique

Asian Makeup Tutorial — Monolid-Friendly Eye Technique

By Elena Marsh · Published 2026-08-06 · Medium difficulty · 20 min

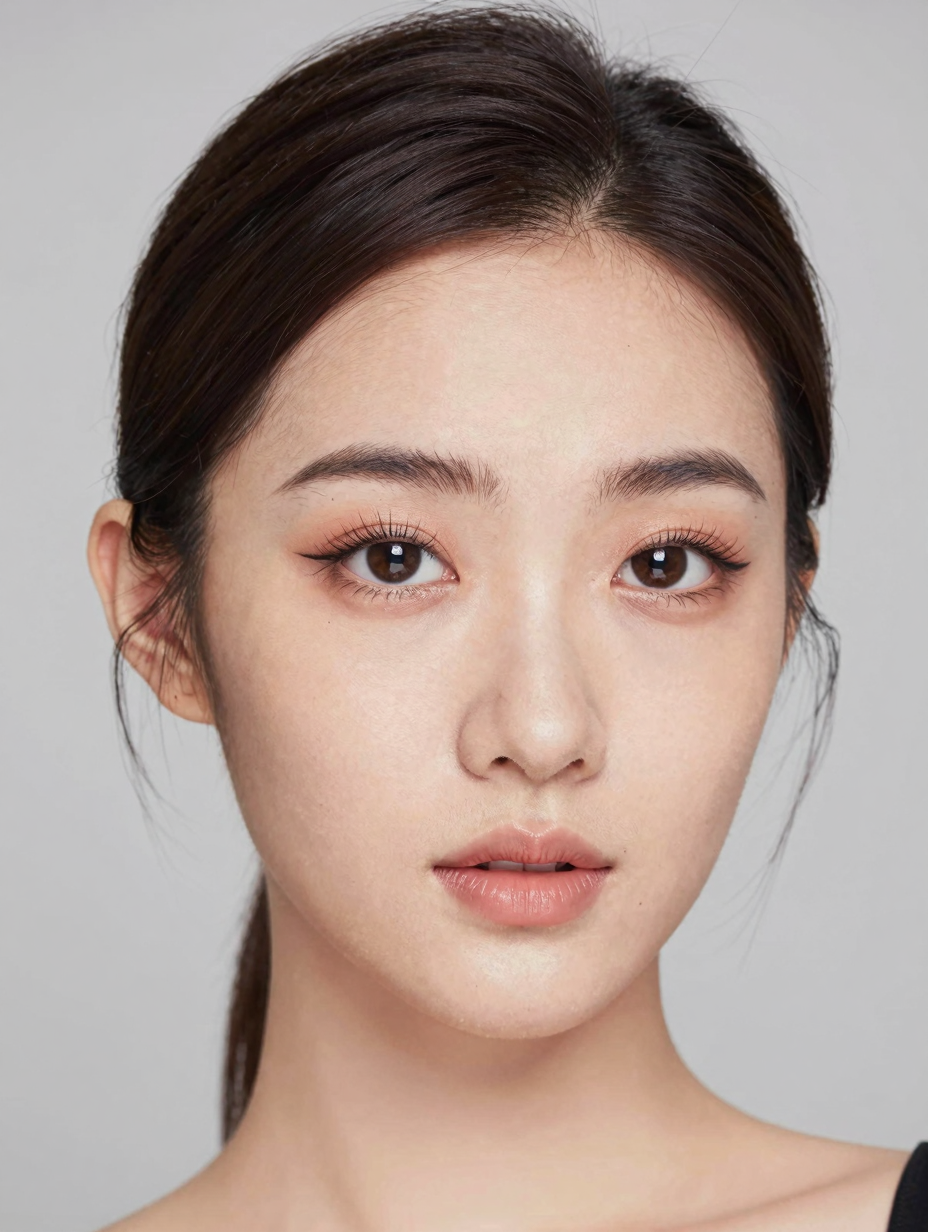
Asian Makeup Tutorial — Monolid-Friendly Eye Technique — front view

Most eyeshadow tutorials are built around a visible crease to define and blend into — for monolid and low-crease eye shapes, that reference point often isn't visible with eyes open, which is why generic tutorials tend not to translate well.

This version restructures the same gradient logic (dark to light, lash line to brow bone) around what's actually visible when eyes are open, rather than assuming a crease that may not show.

Jump to Tutorial ↓

If eyeshadow consistently disappears by midday specifically at the lash line (not fading everywhere), that's a primer and product-longevity issue rather than a placement issue — the placement techniques above assume adequate primer underneath.

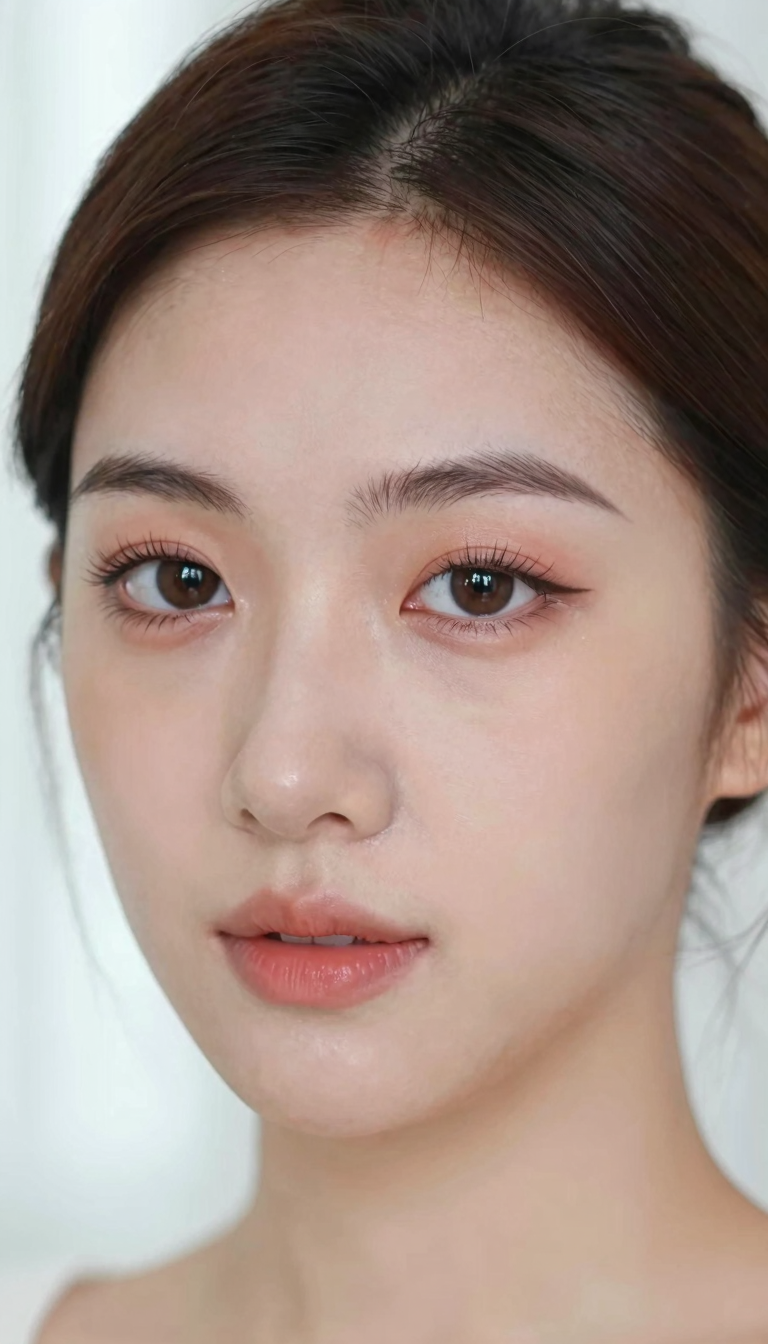
Asian Makeup Tutorial — Monolid-Friendly Eye Technique — Pinterest pin Save this look for later — pin it to your cultural/regional board.

Asian Makeup Tutorial — Monolid-Friendly Eye Technique

Difficulty: Medium Time to apply: 20 min Occasion: Everyday/Evening

What You'll Need

Steps

  1. 1. Prime heavily — monolids need it more

    Eyeshadow primer matters more here than for most eye shapes, since monolids and low-crease eyes have more direct contact between the lid and the brow bone when blinking, which moves product faster without it.

  2. 2. Skip the standard 'crease shade' step

    Most tutorials assume a visible crease to define — instead, focus color placement close to the lash line, building color upward gradually rather than targeting a crease that may not show when eyes are open.

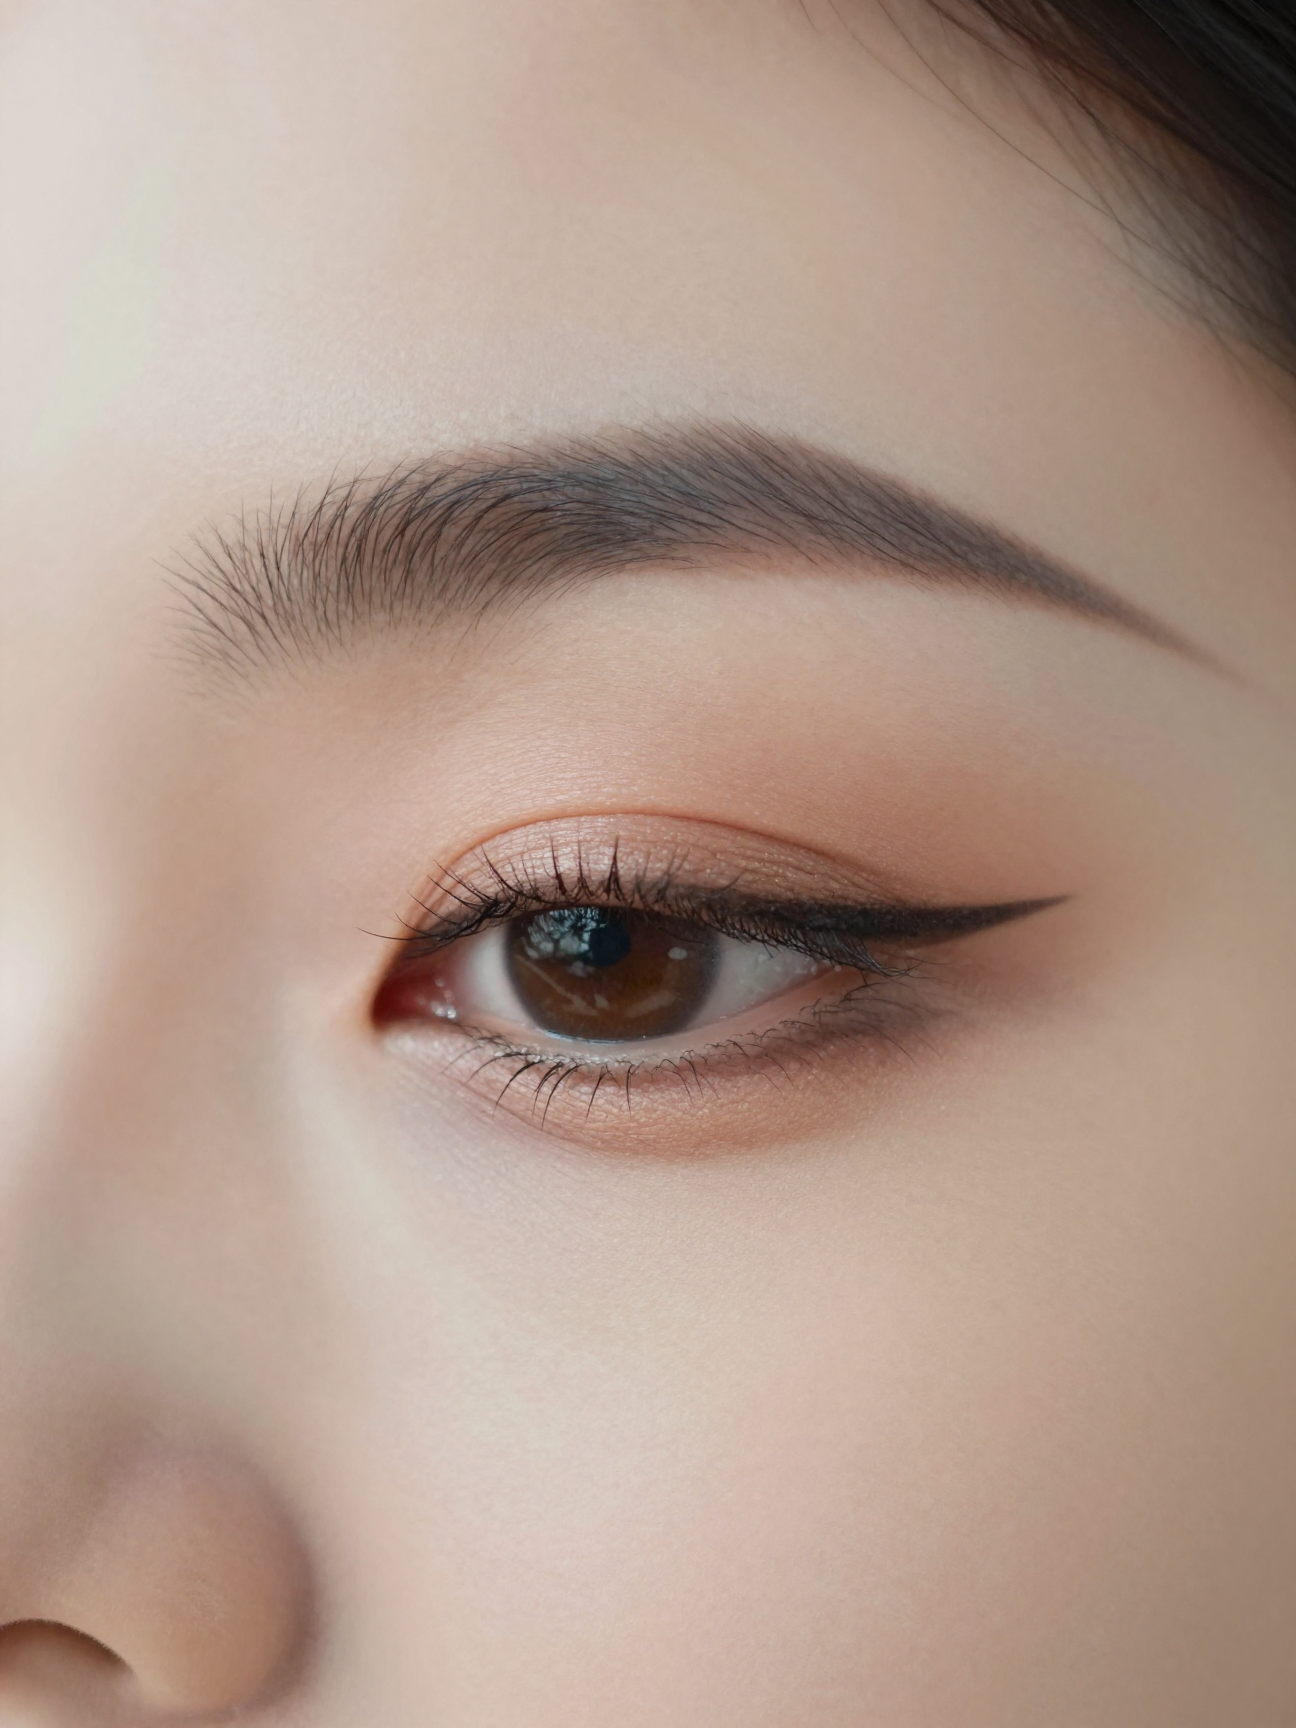
    Asian Makeup Tutorial — Monolid-Friendly Eye Technique — close-up detail
  3. 3. Use a gradient technique from lash line upward

    Apply the darkest shade close to the lash line, a medium shade just above it, and a light shimmer shade near the brow bone, blending the transitions — this creates visual depth without relying on a defined crease.

  4. 4. Line close to the lashes, slightly winged

    A thin line close to the upper lash line, extended into a small wing at the outer corner, adds definition that stays visible with the eye open, unlike shadow placed higher up which can disappear.

  5. 5. Mascara focused on outer lashes

    Concentrate mascara on the outer two-thirds of the lashes for a slight lift and definition at the outer corner, complementing the winged liner.

Tips & Common Questions

Why does my eyeshadow disappear when my eyes are open?

The same core issue as hooded eyes — color placed based on where a crease 'should' be, rather than the area that's actually visible with eyes open. The gradient-from-lash-line technique above places color where it stays visible.

Does winged eyeliner work well for monolids?

Yes, often especially well — since a thin, precise wing doesn't rely on a visible crease to read, and it adds definition and slight lift that flatters low-crease and monolid eye shapes specifically.

Why is primer emphasized so much more for this eye shape?

More of the lid surface stays in direct contact with the brow bone when blinking, compared to eye shapes with a deeper crease — that extra contact moves unprimed product faster, so primer has an outsized effect on wear time here.

Can smokey eye techniques from other tutorials be adapted?

Yes, using the same lash-line-upward gradient logic instead of crease-based blending — apply the darkest shade where a smokey eye would normally start at the crease, just closer to the lash line instead.