The Makeup HubGeneral › Makeup Inspiration — Building a Look From a Mood, Not Just a Photo

Makeup Inspiration — Building a Look From a Mood, Not Just a Photo

By Elena Marsh · Published 2026-08-06 · Easy difficulty · 10 min

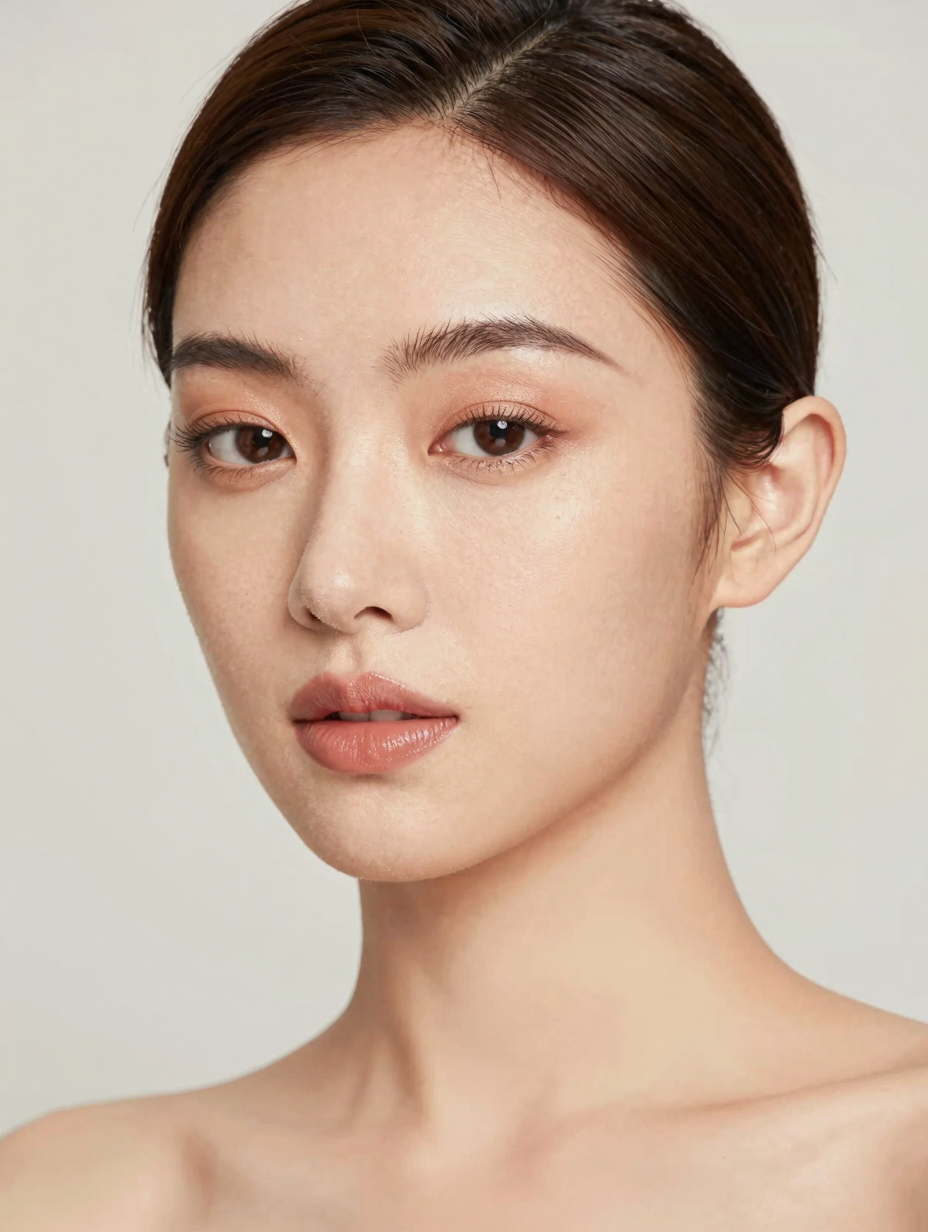
Makeup Inspiration — Building a Look From a Mood, Not Just a Photo — front view

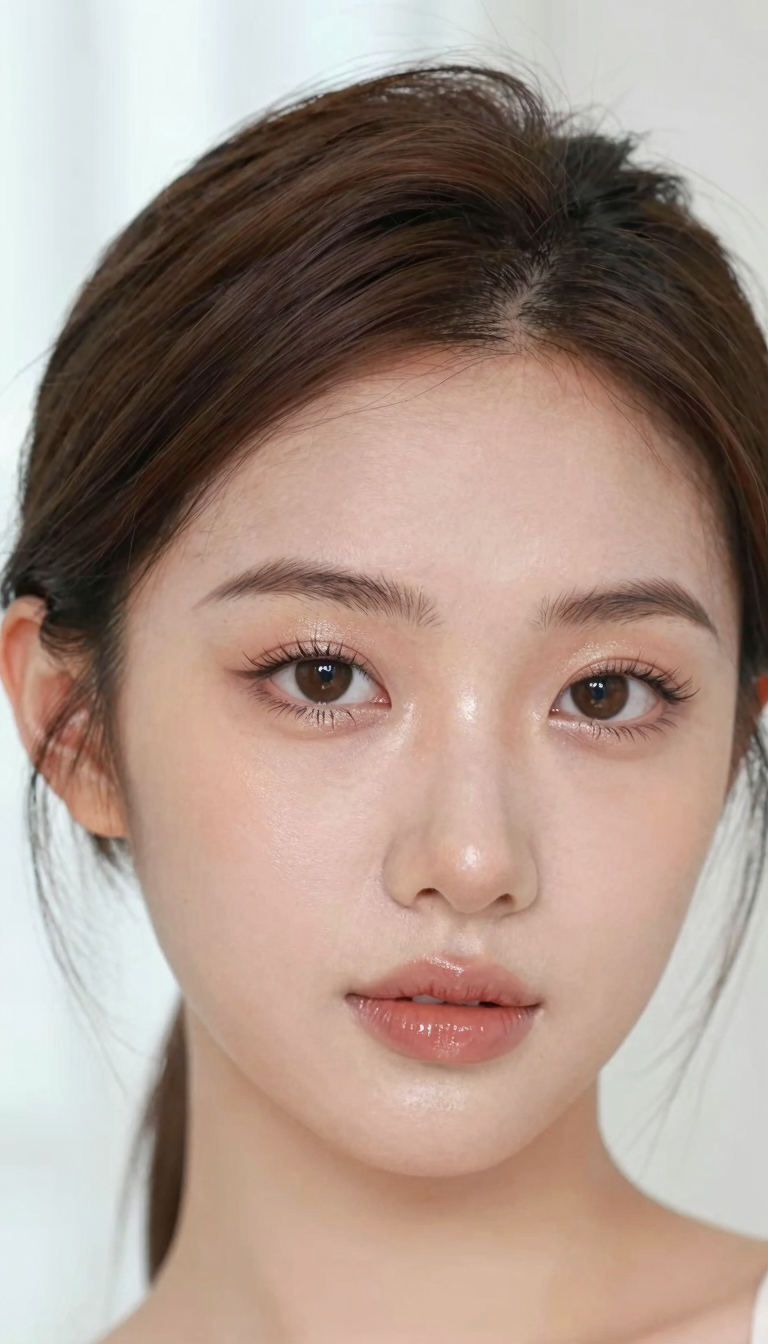
Makeup inspiration photos are useful for identifying a direction — a color story, a finish, a general vibe — but treating them as an exact recipe to copy is usually where translation breaks down, since lighting, editing and the model's specific features all shift what's actually visible.

This page is a guide to using inspiration more effectively: pulling out the actual reusable idea (color family, technique, finish) rather than chasing an exact shade or outcome that may not be reproducible.

Jump to Tutorial ↓

If a technique from inspiration keeps not working, checking whether it was built for a different eye shape (hooded, monolid, deep-set) than your own is often the missing piece — see this site's shape-specific eye tutorials before assuming the technique itself is wrong.

Makeup Inspiration — Building a Look From a Mood, Not Just a Photo — Pinterest pin Save this look for later — pin it to your general board.

Makeup Inspiration — Building a Look From a Mood, Not Just a Photo

Difficulty: Easy Time to apply: 10 min Occasion: Everyday/Evening

What You'll Need

Steps

  1. 1. Identify what's actually inspiring about a saved photo

    Is it the color palette, the finish (matte vs. dewy), the eye shape technique, or the overall vibe (soft vs. bold)? Naming the specific element makes it far easier to translate than trying to copy the whole photo exactly.

  2. 2. Translate color, not exact shade

    A saved photo's exact eyeshadow shade may not exist in your collection or may not suit your undertone — identify the color family (warm brown, cool plum, etc.) and choose your closest equivalent rather than searching for an exact match.

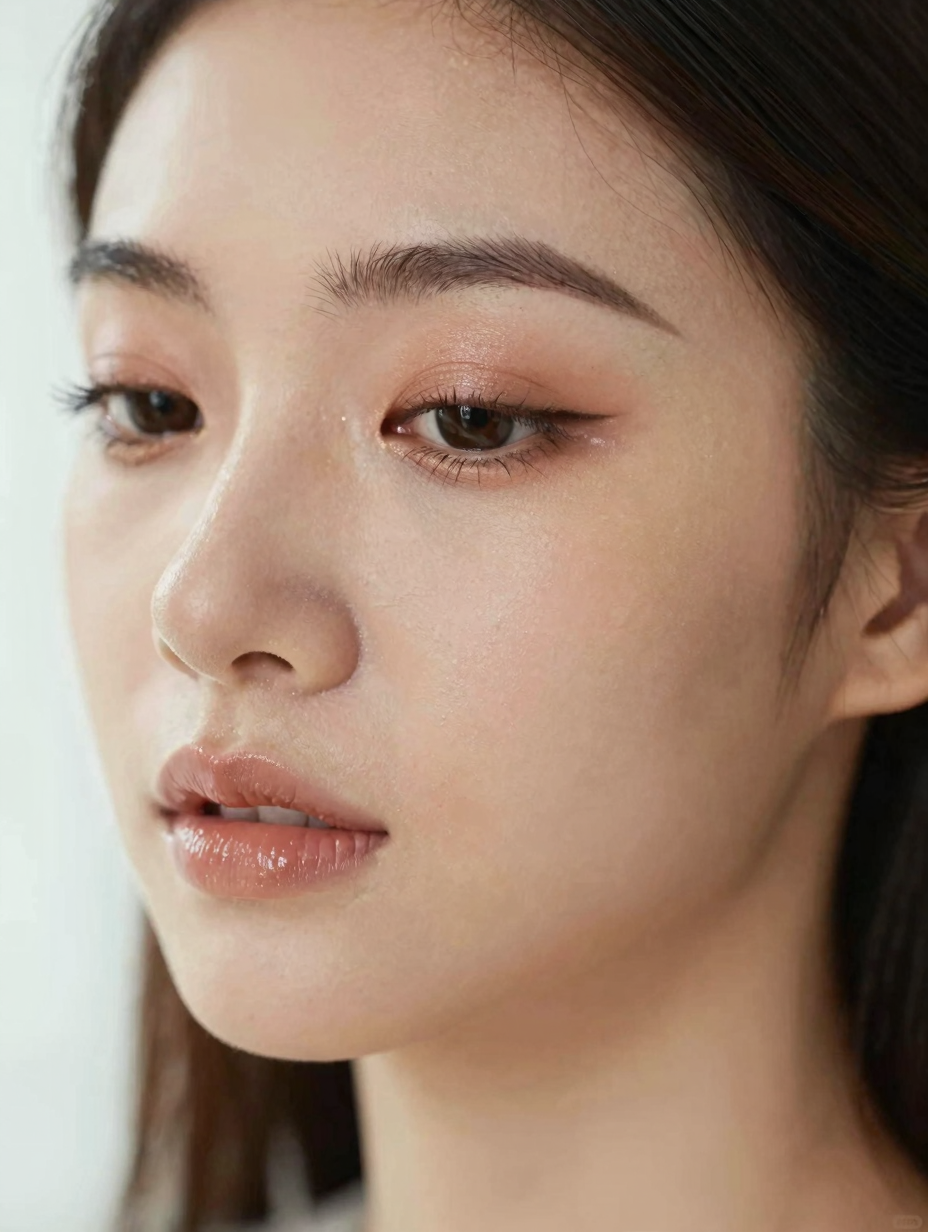
    Makeup Inspiration — Building a Look From a Mood, Not Just a Photo — close-up detail
  3. 3. Adapt technique to your own eye shape

    A technique built for hooded, monolid, deep-set or downturned eyes needs adjustment for a different shape — check this site's eye-shape-specific tutorials (hooded eye, monolid-friendly technique) if the inspiration photo's eye shape differs from your own.

  4. 4. Build a small reference collection, not just one photo

    Saving 3-4 photos that share a common thread (same color story, same finish) gives more reliable guidance than a single photo, since one photo might use lighting or editing that shifts how a color actually looks.

  5. 5. Test the core idea before committing fully

    Try the color palette or key technique on one feature first (just the eyes, or just the lip) before building the full look, especially if it's a significant departure from what you'd normally wear.

Tips & Common Questions

Why doesn't a look ever turn out like the inspiration photo?

Usually because of lighting and editing differences (inspiration photos are often shot and edited for maximum saturation and glow), and because exact shade-matching to a photo is less reliable than matching the underlying color family and finish.

Should I try to match my skin tone to the photo's model?

No — match the color family and technique, not skin tone. The same eyeshadow color family and blending technique can look great across very different skin tones; a specific product shade is what needs adjusting, not the concept.

How many inspiration photos should I save before starting?

A handful (3-5) with a common thread gives more reliable direction than one single photo, which might be an outlier in lighting, editing or the model's specific coloring.

Where do I find the actual technique behind an inspiration photo?

This site's hub pages (Eye Makeup, Glam, Natural/Everyday, etc.) group tutorials by technique and occasion — often the closest match to an inspiration photo's vibe already has a full step-by-step tutorial here.